Give your shoes a second life: Easy home repairs
Posted October 17, 2023 by: Admin
How many times have we thrown away old shoes that we loved a lot, simply because they had holes?
Certainly, each of us has probably thought that there’s no way to take them back and reuse them.
In reality, there are methods that allow you to repair shoes, whether they have a perforated sole or a hole in the toe or any other position.
Can the hole in the shoe be repaired?
It can happen at any time and with any shoe that a hole suddenly appears, or the sole detaches, perhaps due to heat, prolonged foot pressure, or materials that are no longer of the same quality as before.
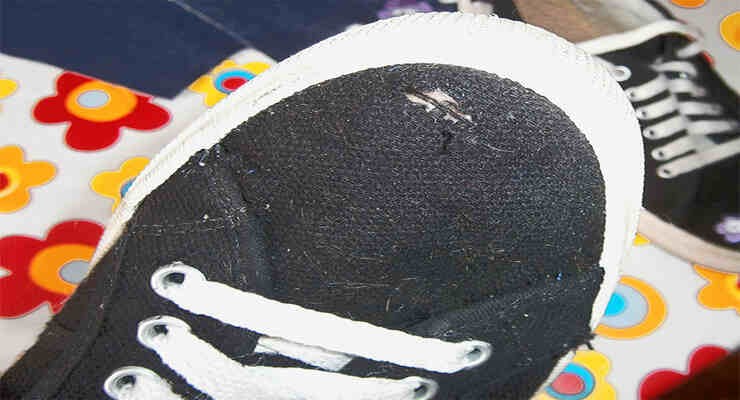
However, it does happen, and so there’s nothing more to say. Even if you want to spend money (within limits) to repair holey or worn-out shoes, you often can’t find someone to do the job because the cobbler, the only one capable of repairing them, has practically disappeared.
For years, it’s impossible to deny that cobblers no longer exist, and even if you find one, the repairs are more expensive than anyone would want to pay for. In reality, few know that shoes can be easily repaired at home using materials that are readily available and cost very little.
How to repair a small hole at the tip of the shoe
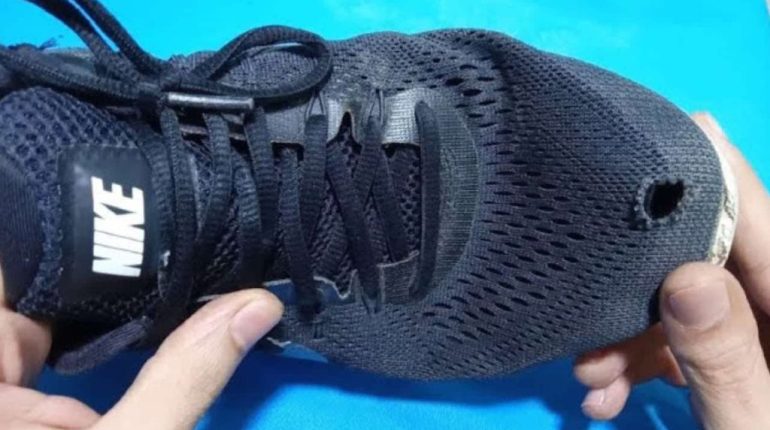
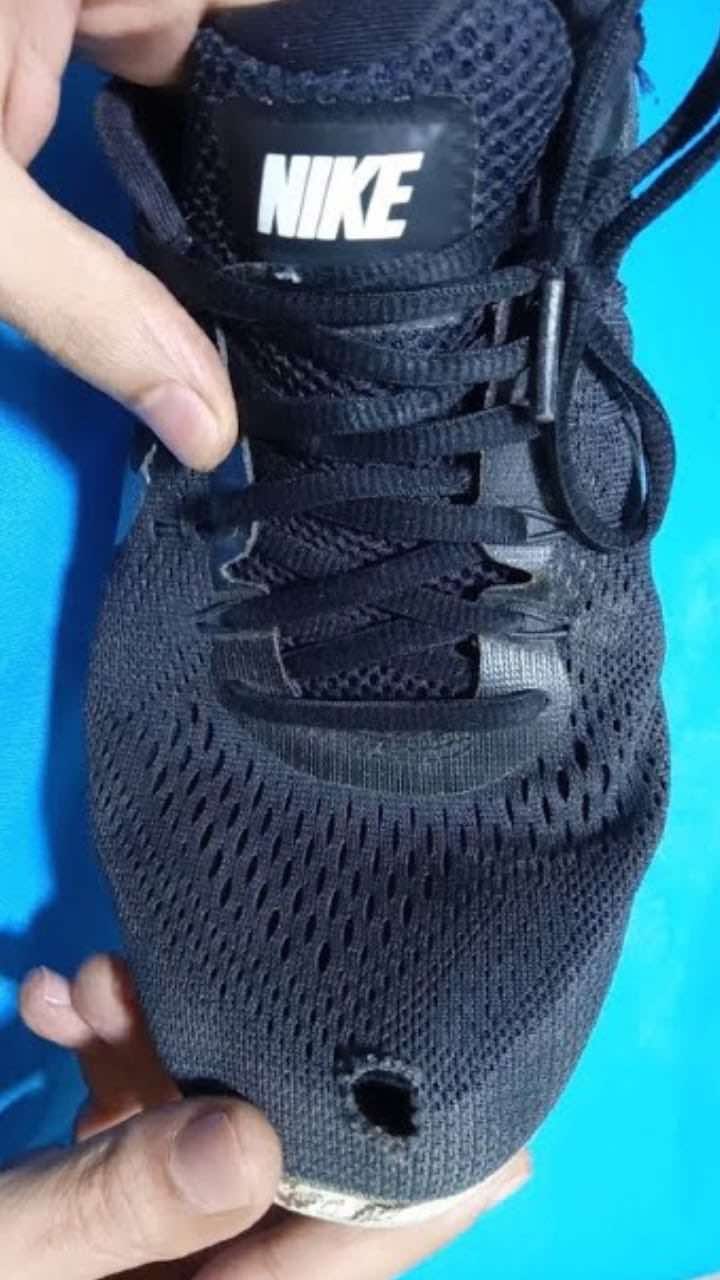
All you need to repair the hole in your shoes is a needle and thread. The first step in fixing the hole at the tip of the shoe is to remove the laces or at least untie them and open up the shoe for easy access. Then, take a needle and thread, and start sewing just as you would with any piece of clothing.
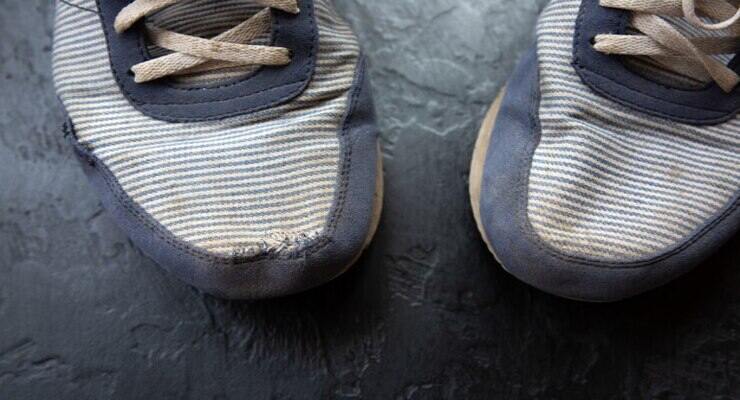
Once you’ve finished sewing up the small hole, the shoe will be practically as good as new and can still be used for a long time, especially if the repair is done well. Of course, it’s recommended to use thread that matches the shoe’s color, but if you don’t have it on hand, be patient, any thread will do.
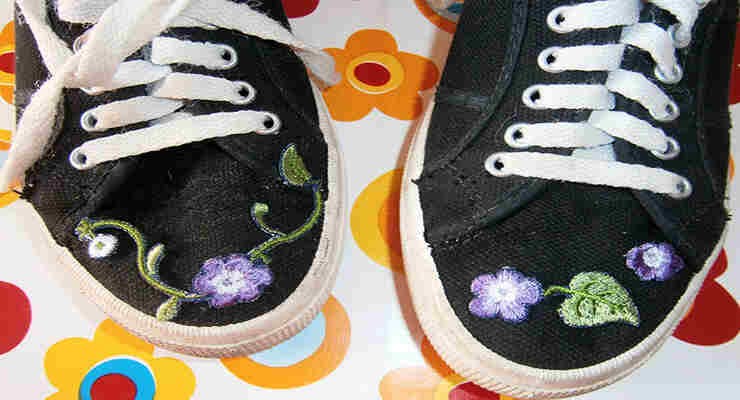
Furthermore, you can also create a unique seam, for example with beads, but only if the shoe is suitable for that type of decoration, or a colored patch. It’s not a style for everyone, but those who prefer it can consider this option. The end result will be nice, even though the shoe may not be suitable for all occasions and may only be used for daily wear.
The detached sole is more of a problem; here’s what to do
Instead of seeking professional help to repair a detached sole, you can use sandpaper, paper towels, ice, tape, and liquid glue. Sand the edges with sandpaper to ensure good glue adhesion. Remove the sole from inside the shoe and place a strip of tape over the hole.
Next, pour a bit of liquid glue over it and spread it across the hole. Use an ice cube to help the glue adhere better. Once you’re done, the shoes are ready to be worn without any issues. It’s advisable to let them dry for a few hours to ensure the sole adheres well without any future problems.


